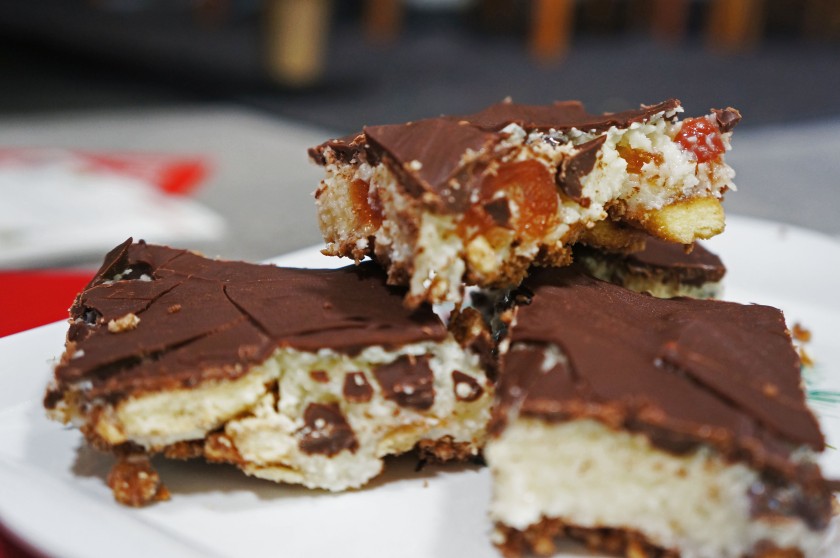
Who else loves Christmas? I am one of those people who wants to start playing the Christmas music in October (I usually hold-out til mid-November!) so it suited me perfectly to test this recipe early (and a few times over!). Like candy canes in slice form, these mouthfuls are refreshingly pepperminty, with nuggets of chocolate, smooth coconut and bursts of cherry. Also a no-bake layering option with NO COOKING required! Perfect for a Christmas recipe in the southern hemisphere! Merry Christmas everyone!
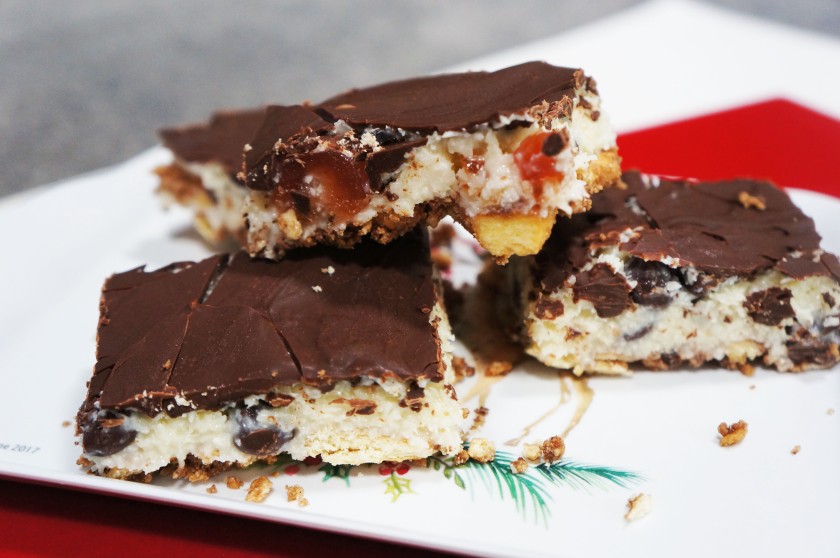
Peppermint chocolate slice
Ingredients
For the base:
- 125g Marie biscuits, crushed
- 2 tsp cocoa powder
- 70g melted butter (?needs more)
For the filling:
- 2 cups coconut
- 395g sweetened condensed milk
- 2 tsp peppermint essence
- 70g glace cherries, chopped
- 70g dark chocolate chips
For the topping:
- 200g dark chocolate
- 1 tsp vegetable oil
Directions
- Place the Marie biscuits with the cocoa powder in a food processor and whizz until they form a fine crumb.
- Stir through the melted butter and pour base mixture into a greased baking tray. Use a spatula to pack the base tightly and evenly across the baking tray. Refrigerate to set.
- To make the filling, combine filling ingredients in a mixing bowl. Pour on top of the base layer and spread evenly. Return to the refrigerator to set.
- After 30 mins or more, melt the chocolate and the oil in a mixing bowl in the microwave for 30 seconds at a time. Stir with a spatula until melted and smooth. Pour on top of the filling and spread evenly. Refrigerate until set.


 I have had a lot of yummy treats in the house recently, due to several big family occasions and much testing for new recipes! So, to counteract all of the temptation, rather than not cook any sweet treats at all, I thought I’d have a go at making brownies without all of the butter and sugar as per usual.
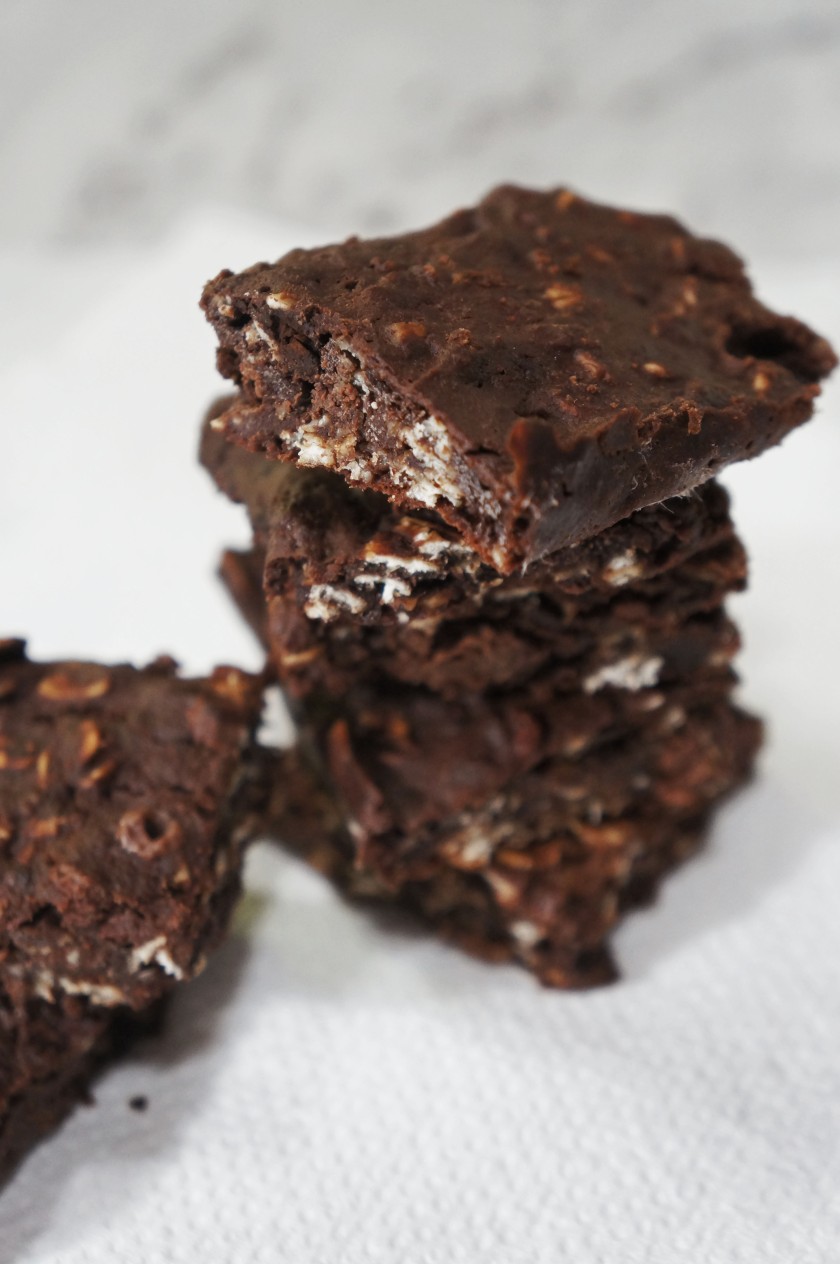


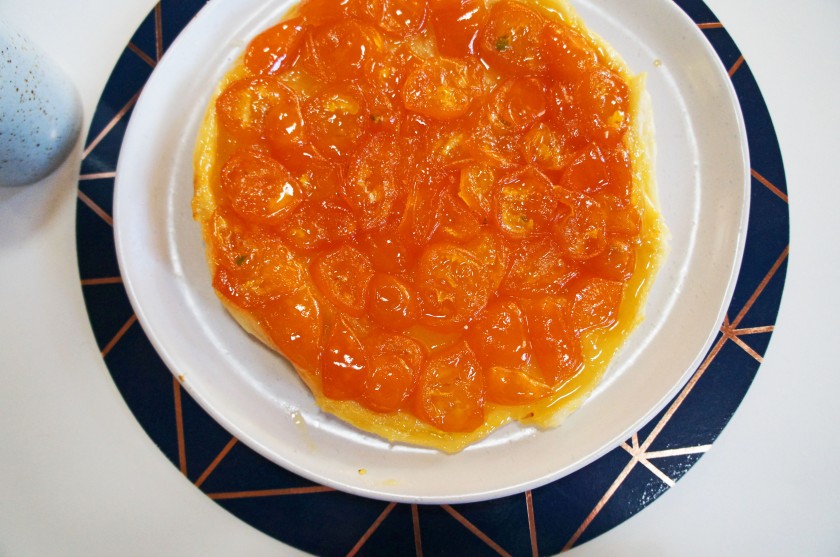
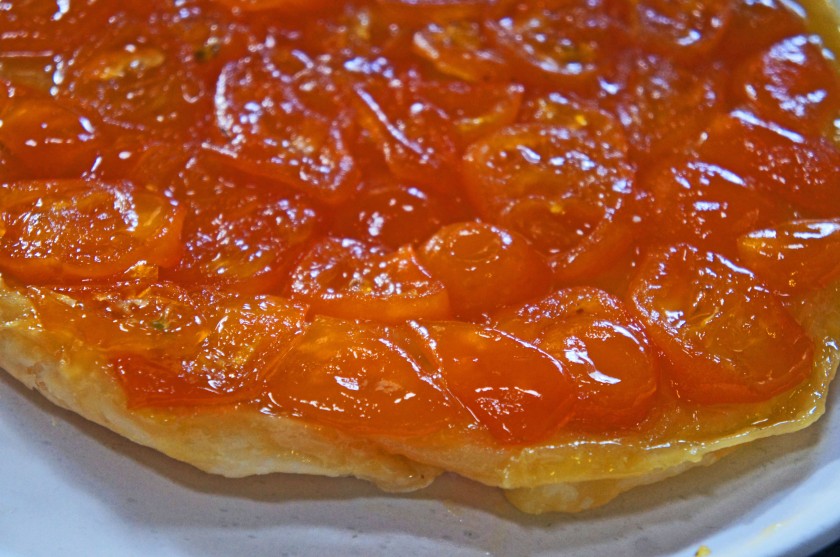
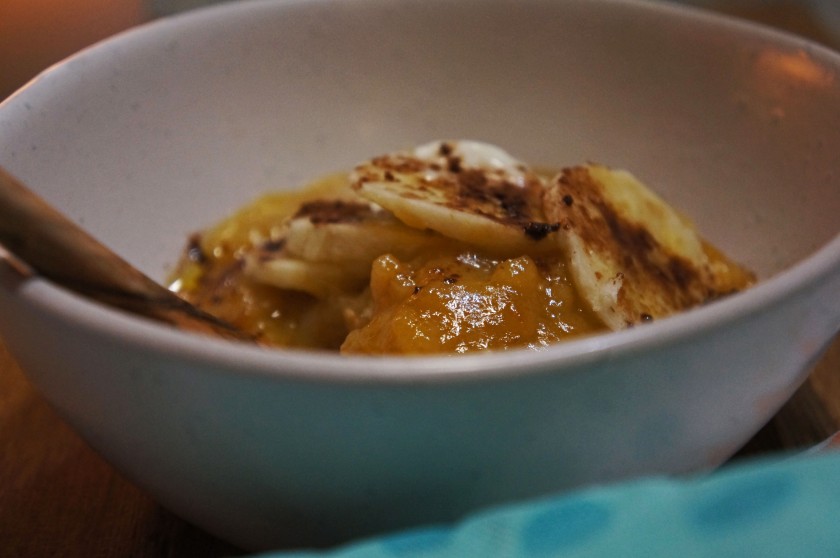
 I unfortunately do not have the space for a kitchen garden right now. One day, I would love to be able to grow my own vegetables to cook with. However, I am lucky that my dad has begun to dabble in edible gardening of late and I am occasionally gifted some of the overflow.